Understanding Oil Painting Techniques for Landscapes
Master the essential methods for creating depth, atmosphere, and compelling light in your landscape paintings
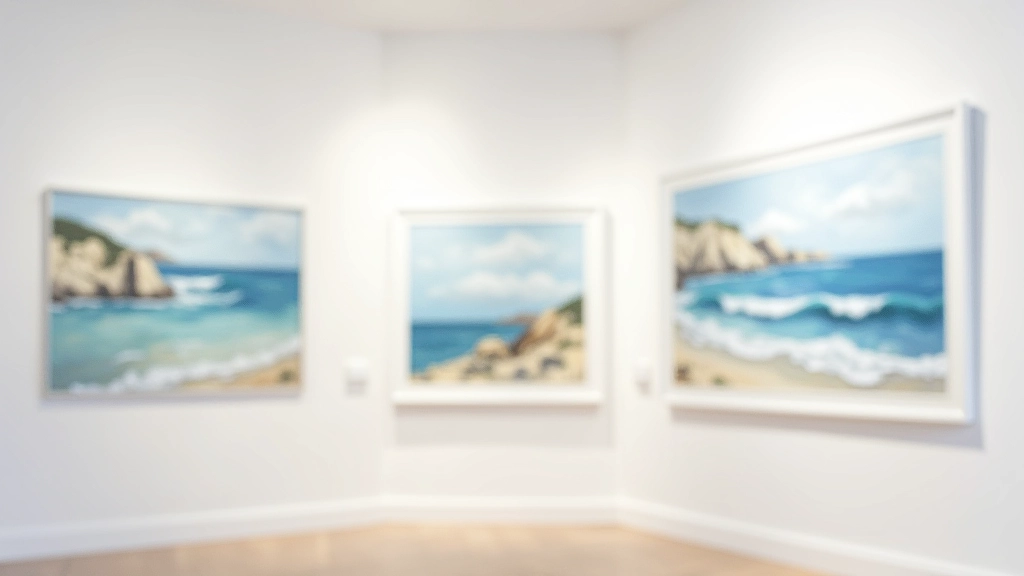
Why Landscape Painting Demands Technical Skill
Oil painting landscapes isn't just about capturing what you see. It's about translating the complexity of nature — the way light moves across mountains, how atmospheric haze creates distance, the subtle color shifts in a forest — into paint and canvas. This is where technique becomes everything.
The difference between a flat, lifeless landscape and one that pulls you into its depths comes down to how you layer your paint, manage your colors, and understand the fundamental principles of atmospheric perspective. We're not talking about mysterious talent here. These are learnable skills that every landscape painter needs to understand.
"The real work in landscape painting happens in the layers. You're building an illusion of three-dimensional space on a flat surface, and that requires patience and a clear strategy."
The Foundation: Layering and Building Depth
Layering is the backbone of oil painting. It's not complicated, but it's absolutely essential. You're working from thin to thick, from background to foreground, building your landscape in stages. This is called the "fat over lean" principle, and it's been used by landscape painters for centuries.
Start with thin washes of diluted paint to establish your composition and values. These early layers act as your map. Once that foundation is dry — and with oils, that means waiting 24 to 48 hours between layers — you begin adding thicker paint with more pigment. This allows each layer to grip the one beneath it. The depth you create isn't an accident. It's methodical.
Here's the practical reality: if you try to finish a landscape in one session, you'll end up with muddy, confused color and no real sense of space. When you layer properly, each color sits clearly on top of the last. The viewer's eye can travel backward into the painting.
Key Layering Principles
- Establish the background first with cooler, softer colors
- Wait between sessions for proper adhesion
- Increase paint thickness toward the foreground
- Use more detail and sharper edges in the front layers
- Let lower layers slightly show through for atmospheric unity

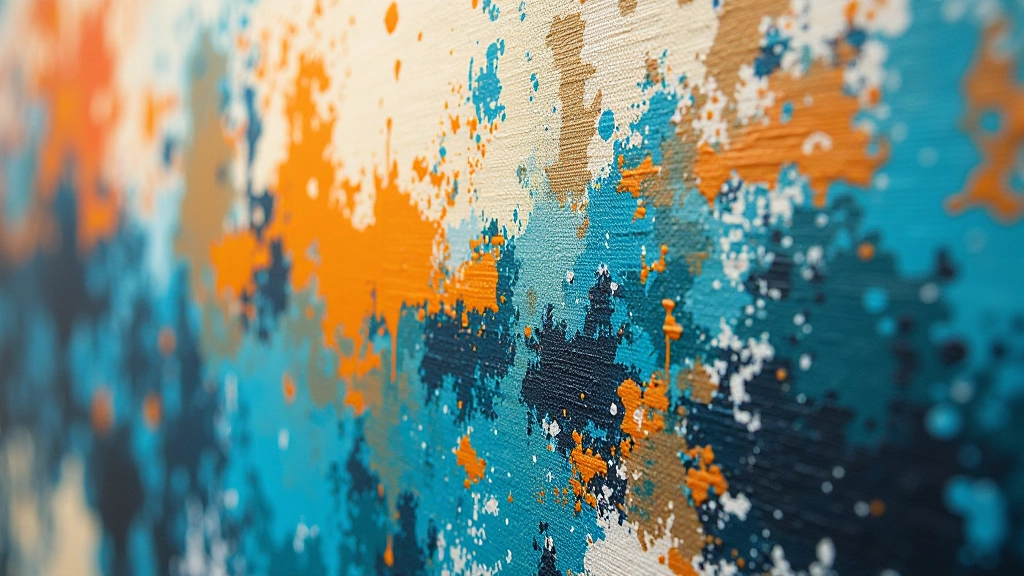
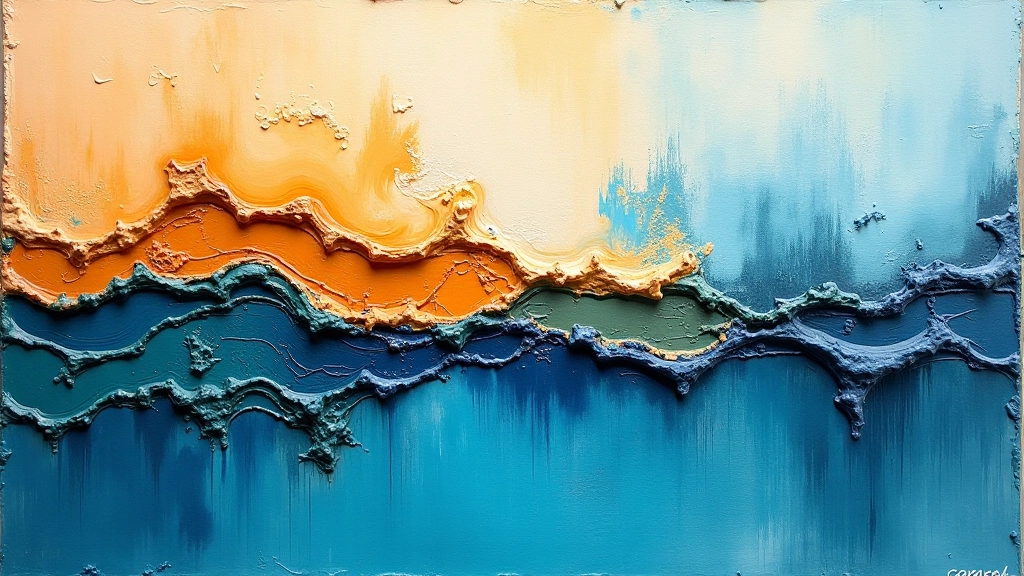
Glazing: Creating Light and Atmosphere
If layering is the structure, glazing is the magic. A glaze is a thin, transparent layer of color applied over dried paint below. It's not blending — you're not moving paint around on the canvas. You're applying a veil of color that lets everything beneath show through.
This is how you create luminosity in a landscape. A golden glaze over a cool blue-gray sky suggests evening light. A transparent green glaze over darker earth tones brings forest depth. The technique is straightforward: mix your color with plenty of medium (linseed oil or glazing medium works well), apply it thinly with a soft brush, and let it dry completely. Expect to apply 3 to 5 glazes on different areas of your painting.
What makes glazing powerful is the optical mixing it creates. When you glaze a warm color over cool underneath, the viewer's eye blends them optically rather than physically mixing them on the palette. The result feels more vibrant and alive than if you'd mixed that color ahead of time.
Color Mixing for Landscape Depth
Here's what separates interesting landscapes from forgettable ones: color control. You can't just grab a tube of "sky blue" and expect atmospheric depth. You need to understand how colors interact and how to mix them intentionally.
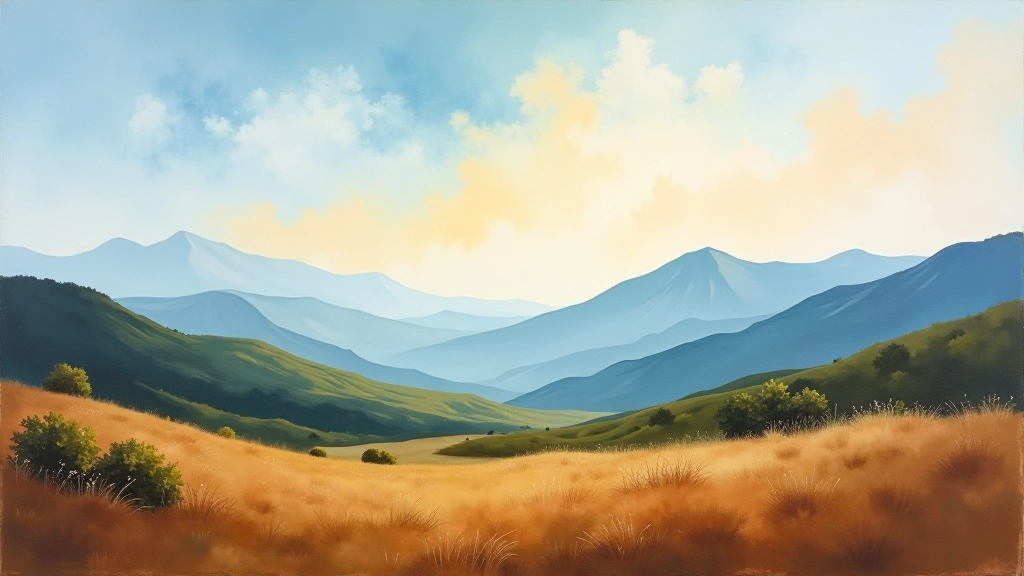
Atmospheric perspective is the principle that distant objects appear cooler, lighter, and less detailed than closer objects. You don't need special pigments to achieve this — you need a color strategy. In the background, use cooler versions of colors (add blue, add white). In the midground, transition. In the foreground, go warmer and more saturated.
Don't mix colors too thoroughly on the canvas. A little visible variation within an area — a touch of warm against cool, a hint of complementary color — creates vibrancy. This is why experienced painters often use broken color technique, applying colors side by side rather than fully blending them.
Background (Distant)
Cooler hues, lighter values, softer edges. Sky colors lean toward blue and purple. Mountains take on the color of atmospheric haze — grayish-blue rather than true green or brown.
Midground
Transition zone where colors warm up gradually. Details become clearer. Colors start shifting from cool dominance to more balanced warm and cool.
Foreground (Close)
Warmest colors, darkest values, sharpest details. This is where your most saturated greens, browns, and reds belong. Greatest contrast with sky and distant elements.
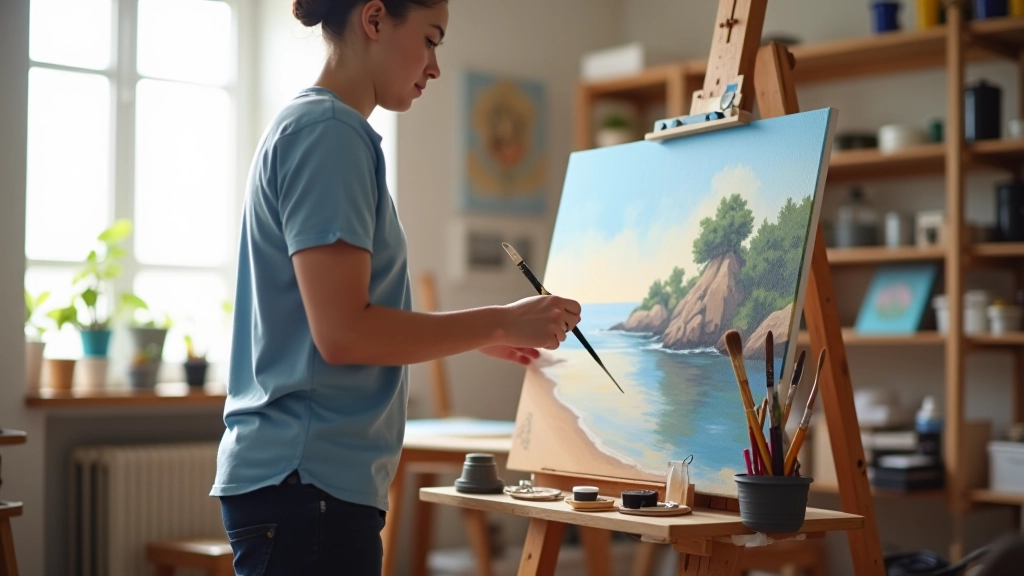
Putting It All Together: A Practical Approach
Understanding these techniques is one thing. Actually using them takes practice and a clear workflow. Here's how a landscape painter typically moves through a painting, from start to finish:
Establish the Composition
Use thin paint (diluted with turpentine or mineral spirits) to sketch your composition. Values matter more than color at this stage. Establish where light and shadow fall. This layer dries quickly — a few hours is enough.
Build the Underpainting
Once dry, apply your first color layer. This doesn't need to be final — it's establishing the general color temperature and values. Still relatively thin paint. Wait 24-48 hours before proceeding.
Develop Form and Detail
This is where you start building substance. Thicker paint in foreground areas. Sharper details emerge. Colors become more confident. You're not finished yet — you're developing the painting systematically.
Apply Glazes for Refinement
Once you're happy with the underlying structure, apply glazes selectively. A cool glaze over the background to push it back. A warm glaze in shadows to add richness. These transparent layers unify and elevate the whole painting.
Final Details and Accents
Add the sharp details that catch the eye — bright highlights, dark accents, small elements that bring focus. These final touches don't require much paint, but they matter disproportionately to the overall impact.
This whole process typically takes 2-4 weeks of actual painting time spread across multiple sessions. You're not rushing. Each layer needs to cure properly. The result is a painting with genuine depth and presence.
The Path Forward
Oil painting landscapes is fundamentally about understanding space and light. Layering gives you structure. Glazing gives you luminosity. Color mixing gives you depth. These aren't separate techniques — they work together to create paintings that feel alive.
The painters whose work captivates us aren't necessarily the most naturally talented. They're the ones who've committed to understanding the craft. They know why they're using each technique and what effect it creates. That knowledge comes from study, practice, and patience.
Start with a small canvas. Apply what you've learned here intentionally. Don't rush the layers. Trust the process. Your landscape paintings will improve not because you're somehow becoming more artistic, but because you're actually learning the language of oil painting.
Educational Information
This article presents established landscape painting techniques used by artists. Individual results will vary based on skill level, materials used, and personal approach. Oil painting involves flammable materials and solvents — always work in well-ventilated spaces and follow safety guidelines for the products you use. The techniques described here represent common practices in contemporary landscape painting but are not prescriptive. Every artist develops their own methods and approaches.
Continue Learning